Tips For A Salon-Worthy Blow Out At Home
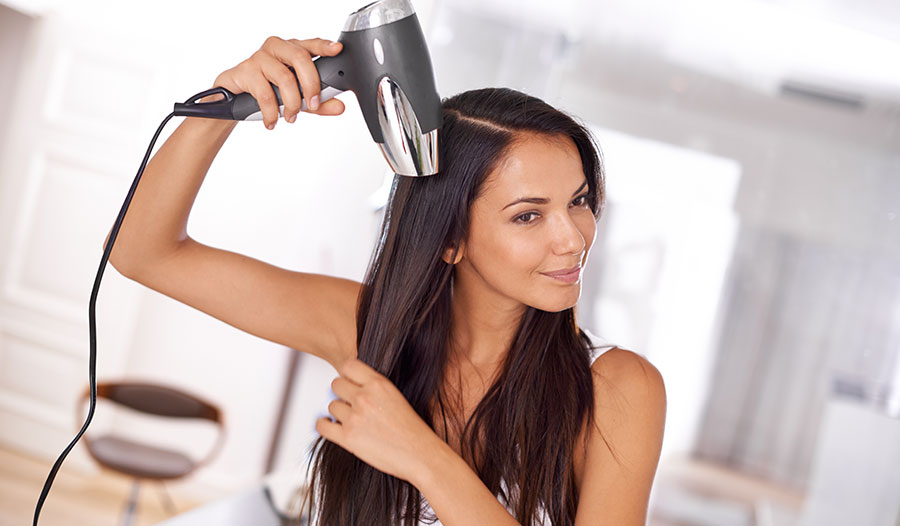
How many times have you wanted to recreate a perfect blowout that you received from your salon? You have that first date, an important meeting, or just lunch with the girls coming up—and you want that perfectly styled hair.
It’s not always practical to have a hairstylist on hand or an appointment for a blowout at the ready. As such, I wanted to provide some top tips on achieving a sleek, professional blowout at home. Remember: a perfect blowout isn’t just about grabbing a hairdryer and blasting heat at your hair. Hopefully, the following steps will help you create the perfect look. Let’s walk through the steps that will help you create that sensational, salon-perfect blowout.
A Great Blow Dry Starts With A Blank Canvas
First, you should clarify the hair with a great clarifying shampoo to remove any build-up and excess styling products. Think of this as creating a blank canvas so that you can get to work on producing the perfect blowout.
When using your clarifying shampoo, ensure that you get into the roots by massaging your scalp really well to remove all buildup. After you rinse your hair, you next want to use a conditioning volume shampoo, this will help to remove any remaining residue from your hair. Whilst still in the shower apply conditioner to your ends ensuring to avoid your roots. (You don’t want to weigh your hair down with conditioner, but you do want the ends to be fully conditioned.)
When you come out of the shower use a soft cotton towel or t-shirt to blot dry your hair. You want to be gentle and soft with your hair so that you do not cause friction, which will help prevent flyaways. One suggestion I would make is to not wrap your hair in a thick towel on top of your head: this normally leads to frizz forming.
The Styling Products You Will Need
From here let’s start with our styling products. You first want to apply your favorite root lift at the root and base of your hairline and work it all into your root. You then want to coat your ends with a lightweight heat protectant so that you protect your hair from the heat of the blow dryer. The heat protectant will help to reduce frizz and breakage and will keep your hair shiny and healthy. The healthier your hair the more bounce it has, which is what all of us want from our blowout look.
Choosing The Right Equipment
When choosing your blow dryer my only requirement is that you have a nozzle at the end of your blow dryer. That way, that heat is only placed at the point that you want, so you can control the direction. When you intend the heat to go to certain sections of your hair, this will make sure that other sections of your hair do not get frizzy as you start blow-drying the different sections. The temperature and speed of your blow dryer will be different for each individual. If you are not sure what settings to use, I would start with medium heat and power. As you gain more confidence and master your blow-drying technique, I would then progress to higher speeds and hotter temperatures. For thick, curly hair I normally start on high heat and the highest power in order to smooth out the curls, but again, start with what you feel confident with.
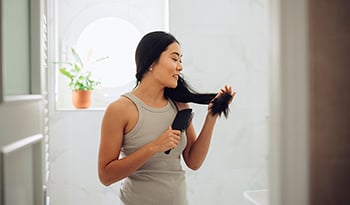
Choosing the right brush is the next step. Round or oval are my go-to brushes. A round brush will create a full bouncy curl and movement. Choosing the right size is all about the finish (be that curl, bounce, or straight) that you want to create. The smaller the brush the more curl and bounce; with a larger brush, you will have a more straight and full look. The use of an oval brush creates a unique, full-bodied blow dry with a straighter end. You can also use a combination of these brushes to create different looks or for different sections of your hair.
Always Section Your Hair For Best Results
Next, you need to section your hair. Think of this as your hair as being in different quadrants—top, back, left, and right. You want to separate each quadrant using clips. I like to start in the top section, which is the front. I like to roll the hair up and forward in three smaller sub-sections, up and towards the face, with the blow dryer following the brush from root to tip. Let the blow dryer push the hair through the brush. Once your hair is rounded (wrapped) you can go over it with the blow dryer for a second, and then release it. Repeat this as necessary to ensure that this section is completely dry. Depending on the thickness of your hair you may need to add an additional section or two. Once you reach the top of the crown you want to change the direction of the round/oval brush and go back. When you reach the top of the crown (the hair that will fall back) you want to roll this towards the back of your head, so you have extra lift in your crown. This may take two or three sections depending on the thickness of your hair. You may hold this in place with a clip when you take it out as you blow-dry the rest of your hair.
Now let’s move on to the sides. Starting on your preferred side, you want to create two or three sections from the bottom up on a diagonal pointing up towards your eyes. You use the exact same movements as you did on the top of your head, rolling the brush up and away from your face, and back down towards it. You want to keep the tip of the blow dryer close to the brush and at an angle, as you work through the section. Repeat the same steps on the opposite side.
Let’s now move to the back of the head. If you have extremely thick hair you might want to speed dry this a little to take out any excess dampness before you begin, your hair should feel slightly damp before you begin styling. You will want to use the round brush in horizontal sections across the back of your head, and I recommend having two or three sections across the back. You can use clips as needed so that you focus on the area you are currently blow-drying. When blow-drying you want to push the root up and back to make sure that the root comes out horizontally (we call this a neutral root as it comes off the scalp, not down or up).
Now you’ve made it this far, your hair should start to look phenomenal. At this point you want to make sure that the direction of your hair always follows the root, and that all your roots are dry. Your root can never be damp at this point. If you find any damp patches, touch these up before continuing, otherwise, all your hard work will start to collapse.
The Finishing Touches
Once you are sure that all your hair is dry you can start to finalize the blow-dry. I recommend taking either your hands or a wide-toothed comb to push your hair back and create movement.
Once you have the look you want, finish by adding some light and natural hairspray at the root, and then once over the top of your hair, and then you are good to go.
Have a great time wherever you are taking your hair today!
DISCLAIMER:This Wellness Hub does not intend to provide diagnosis...




























 Table of Contents


