All You Need To Know About Cream Blush
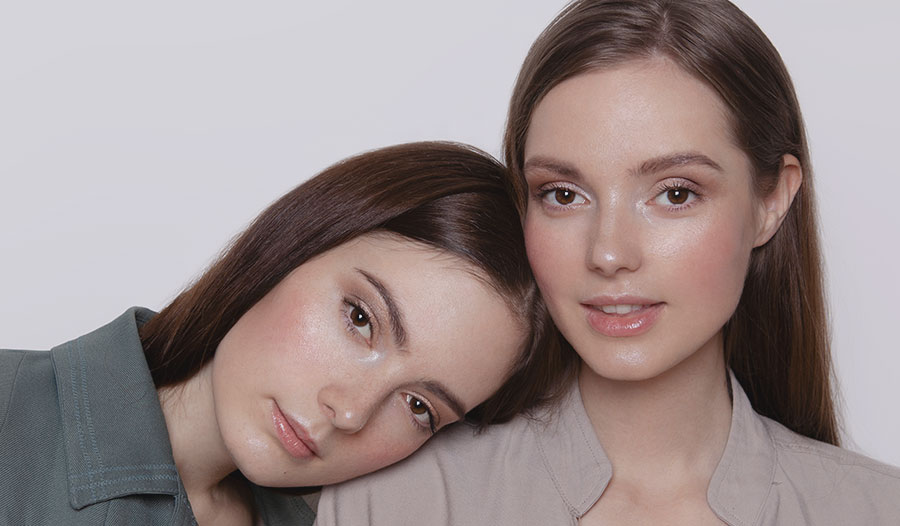
As we spent more time at home throughout the pandemic, we quickly saw makeup wearers ditch full glam and move towards a more natural, dewy, flushed look. Enter cream blush! This easy-to-use type of makeup has taken over the beauty scene from TikTok to the office, and today’s blog post is your complete guide on what I’ve learned about wearing cream blushes and my thoughts on a selection of iHerb’s top cream blush options.
What Is Cream Blush?
Cream blush is a pigmented piece of makeup formulated to give skin a natural, glowing from within, flush of color on the cheeks. Although I’m using the term “cream,” we see these blushes formulated with different textures and consistencies. Those include true creams, liquids, and gels, and they may be packaged in small tubs, tubes, or pump bottles, depending on the brand. One of the benefits of cream blushes is they work well both for young and more mature skin types, as there is no caking, and the moisturizing finish avoids any settling into fine lines.
Placement of Cream Blush
Where you place your blush on your face is a personal preference, but there are several trending placements I have tried and loved!
The easiest is the apple of the cheeks. Simply smile and apply it to the roundest part of your cheek before blending upwards towards your eyebrow. This placement tends to suit most face shapes and gives a pretty, natural look.
Another option is to include your nose! There are a couple of ways to do this, and it gives an even more natural, youthful appearance. You can pat any leftover color on the end of the nose, or you can use the blush across the bridge of your nose. Across the bridge is supposed to give a sun-flushed look and it looks gorgeous when done correctly—just don’t use too much color and risk looking sun-burned!
Sweeping blush upwards and concentrating color around the sides of your eyes and up to your eyebrows is a popular look for a romantic, whimsical take on the cream blush trend. This is fun for an evening out and something a little different.
How to Apply Cream Blush
Applying cream blush is a VERY different application method than with your regular powder blush, but don’t be intimidated. There are several different ways to apply a creamy formula and I’m going to break them down.
First, you want to consider your base skincare and makeup. You should be prepping your skin with moisturizing products to achieve that dewy, glowy look, and then apply a liquid or cream foundation base and concealer before the blush. You want to align the textures of the base and blush because if you apply a cream product to a powdered base, you risk the cream product clumping together and becoming difficult to blend out. Alternatively, you can apply cream blush to bare, moisturized skin if you’re going for a completely natural look.
The consistency of your blush is important to consider when thinking about which tools to use for application—is it a cream, a light gel, a stick formula? How pigmented and bold do you want your blush to be? If you want strong, standout color payoff we’re going to grab different tools compared to if you want a slight flush. Here are my top options for application:
Fingers
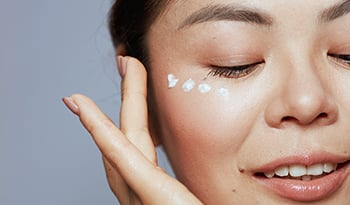
Simple, quick, and free, you can just use your fingers to apply your cream blush. I prefer to use my fingers for easily blendable products such as lightly pigmented options and consistencies such as a gel or those that won’t pick up easily on tools. When I apply with my fingers, I use a very small amount and use a patting motion to blend out the color. Just make sure to wash your hands before you do this!
Blush Brush
Another option is a blush brush, with many options available to suit a wide range of budgets. Note—you need to make sure it’s a brush specifically made for liquids. I usually apply a dab of color with my finger before swirling and patting outwards towards my hairline with the brush. Brush application is my preferred method as it’s easy and doesn’t include having to wash my hands afterward!
Damp Beauty Sponge
If the color is intense or I have not applied the blush evenly to both cheeks, I reach for a damp beauty sponge to make sure it’s blended as smoothly as possible. This is also a great option to sheer out the color a little and achieve that natural flush. I may apply the blush directly to the beauty blender, or again a small amount on my face, before patting out outwards and upwards towards my eyebrow and hairline.
Cream Blush Reviews
I have been playing with a bunch of cream blushes from a variety of brands here on iHerb, and I’m ready to share my reviews, tips, and recommendations for each of them! Let’s get into it.
E.L.F. Putty Blush in Turks & Caicos
To say American brand E.L.F. has revolutionized drugstore makeup over the past year would be an understatement. E.L.F. continues to produce quality formulas at super affordable prices, and their Putty range became a huge hit. It started with Putty Primer, and now covers a variety of products including Putty blushes. I was excited to test the Putty blush out!
The consistency is truly unique. If you use your finger in a circular motion within the small tub, it softens with the warmth of your finger and feels like a cream. However, as you apply it to your face, it instantly dries and fades into the skin in the most beautiful, natural way. It has a dry feel to it but leaves the skin feeling velvet-like. I also tested using a brush with this, but it does not pick up enough color—a finger application is required. Just be sure to wash your hands before use, as you don’t want germs in your blush pot!
The result is the true natural flush and it’s stunning. You can wear this with a full face of makeup, or on its own to add a little color to your cheeks.
Pixi by Petra Sheer Cheek Gel in Natural
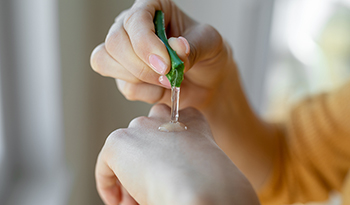
If you’re a total newbie to cream blush formulas, this gel from Pixi will be a great starting point. The consistency is a very light, water-based gel that is incredibly easy to blend into the skin with a finger. I squeeze a little onto the back of my hand, then pat into my cheeks with my finger. It leaves skin feeling moisturized and with a subtle, but very pretty, flush. If you have dry skin, take note that this is the most moisturizing option of the selection I’m reviewing today! It just sinks into the skin and leaves a glowy finish.
Maybelline Cheek Heat Sheer Gel-Cream Blush in Nude Burn & Rose Flush
The Maybelline version of cream blush is comparable to the Pixi cream blush in that it’s also a moisturizing formula and has a slight gel texture to it. This one is more of a gel-cream hybrid and although the color looks alarmingly pigmented on the first squeeze of the tube, it sheers out beautifully as you blend into the skin. I prefer to use a finger for the application of these to get a good color payoff. Both shades are beautiful, although note that they do both lean very pink.
Have you tried the cream blush trend? I hope this post has given you the confidence to try it out for a timeless, natural look that is easy to achieve.
DISCLAIMER:This Wellness Hub does not intend to provide diagnosis...





































 Table of Contents


